|
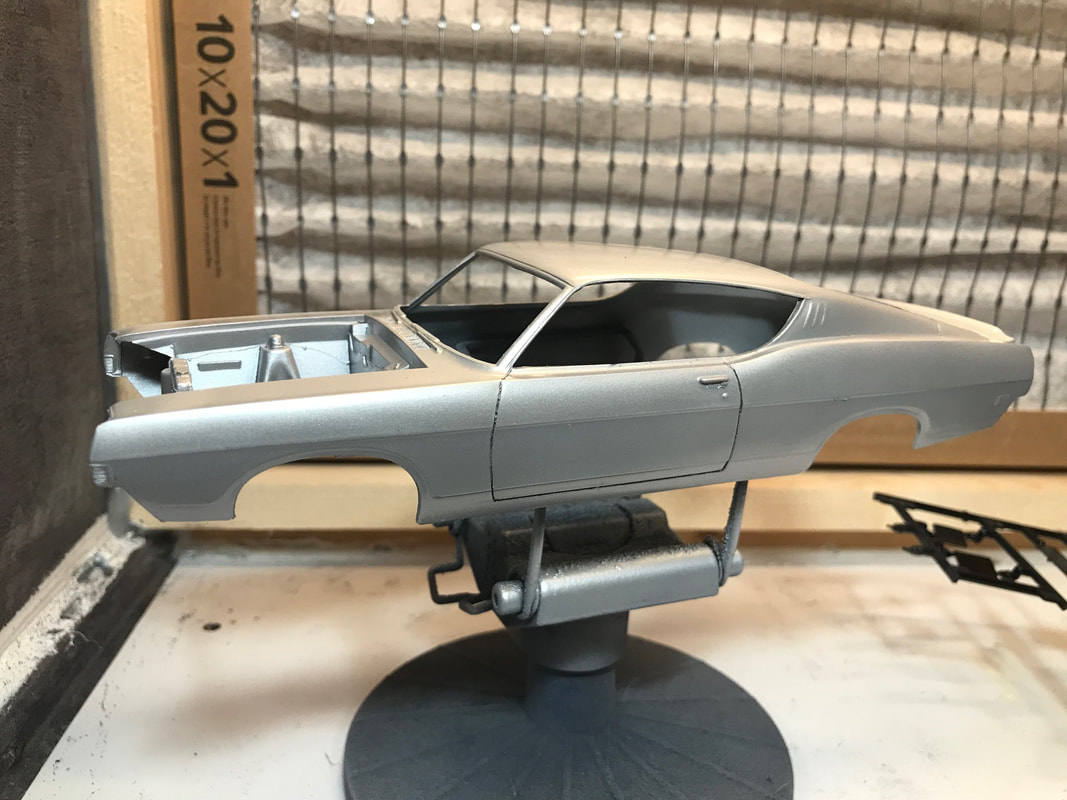
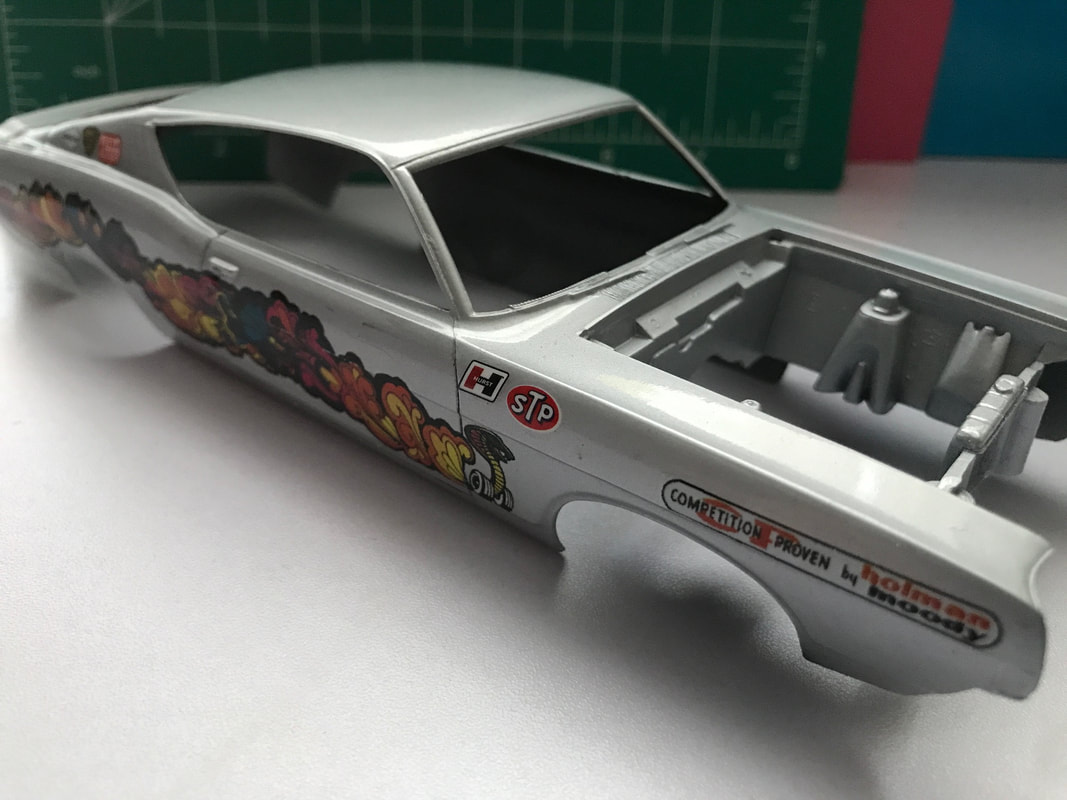
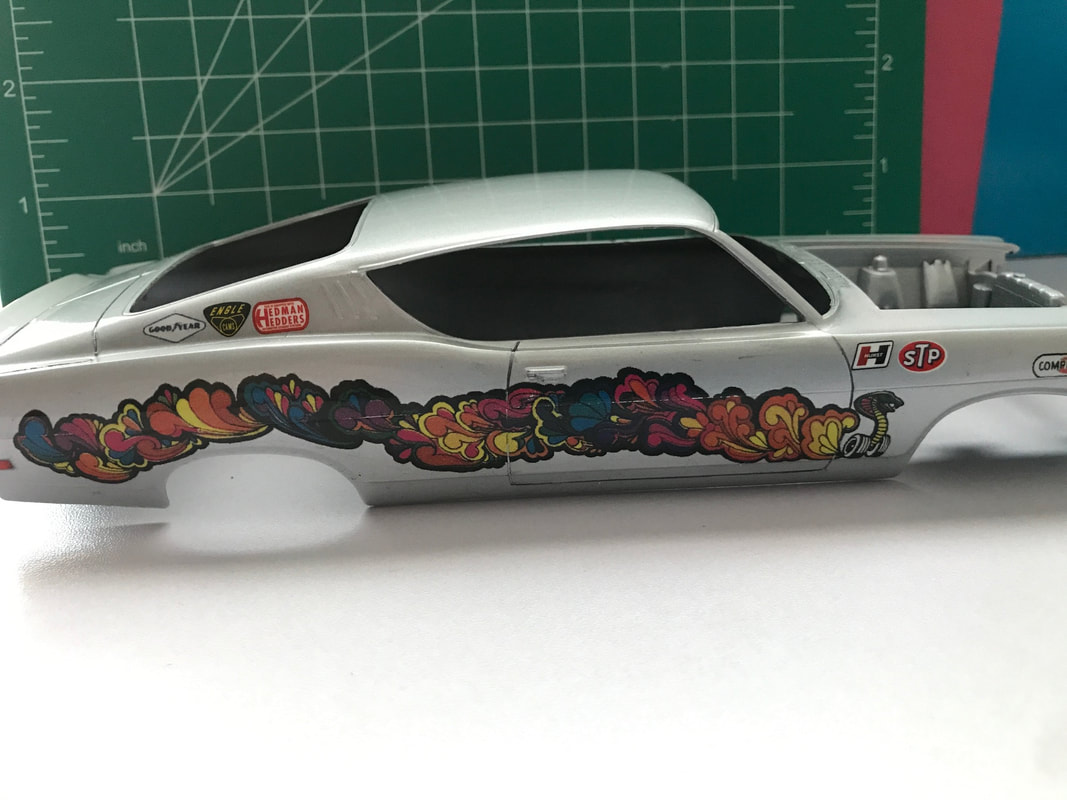
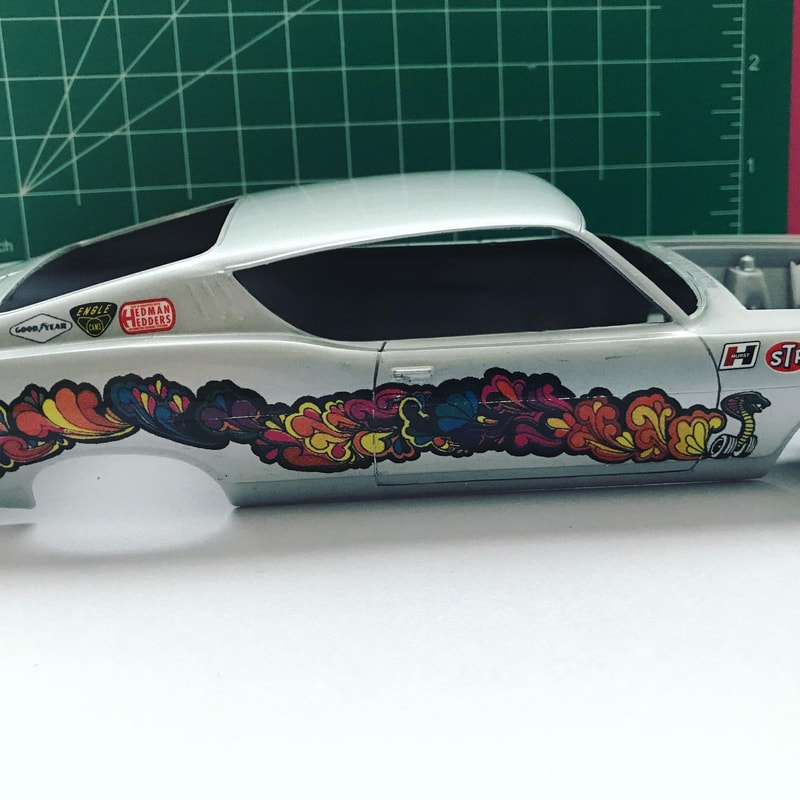
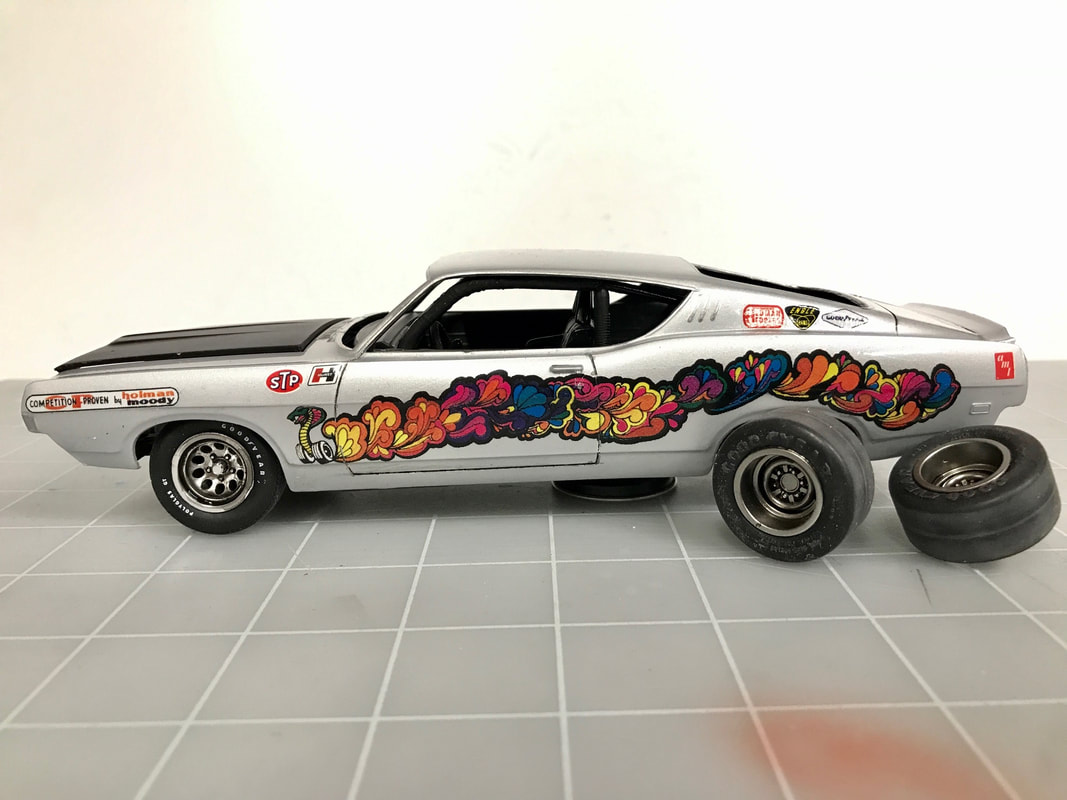
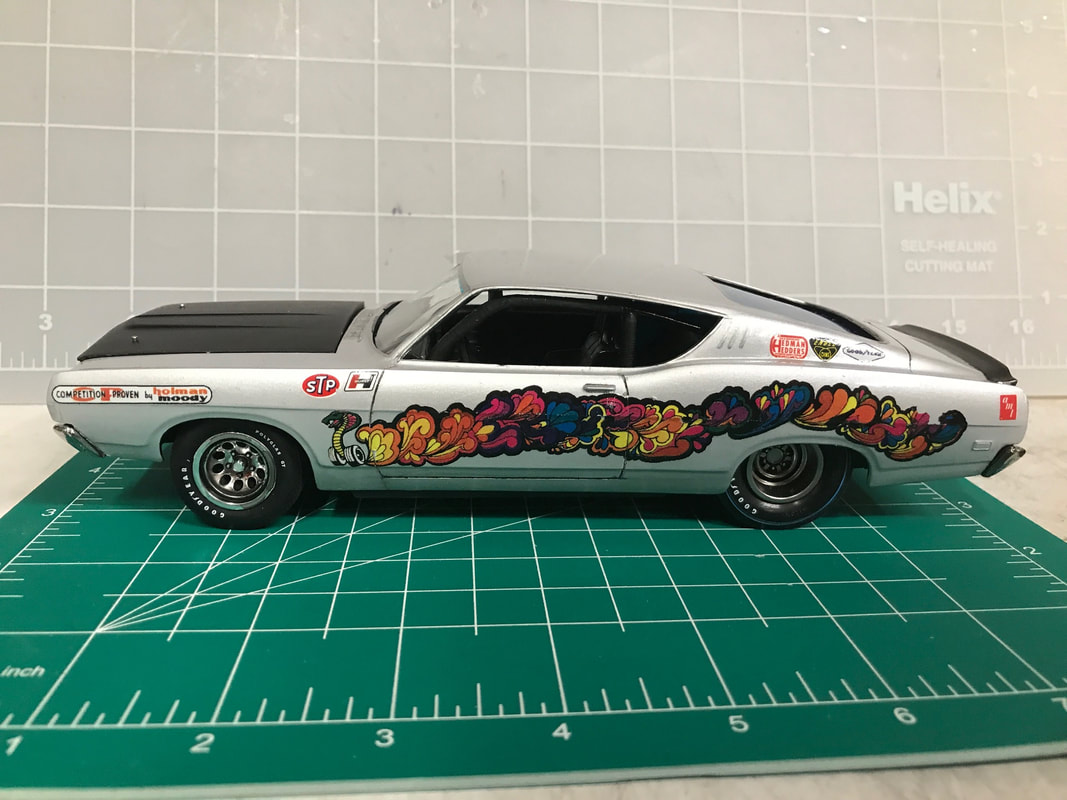
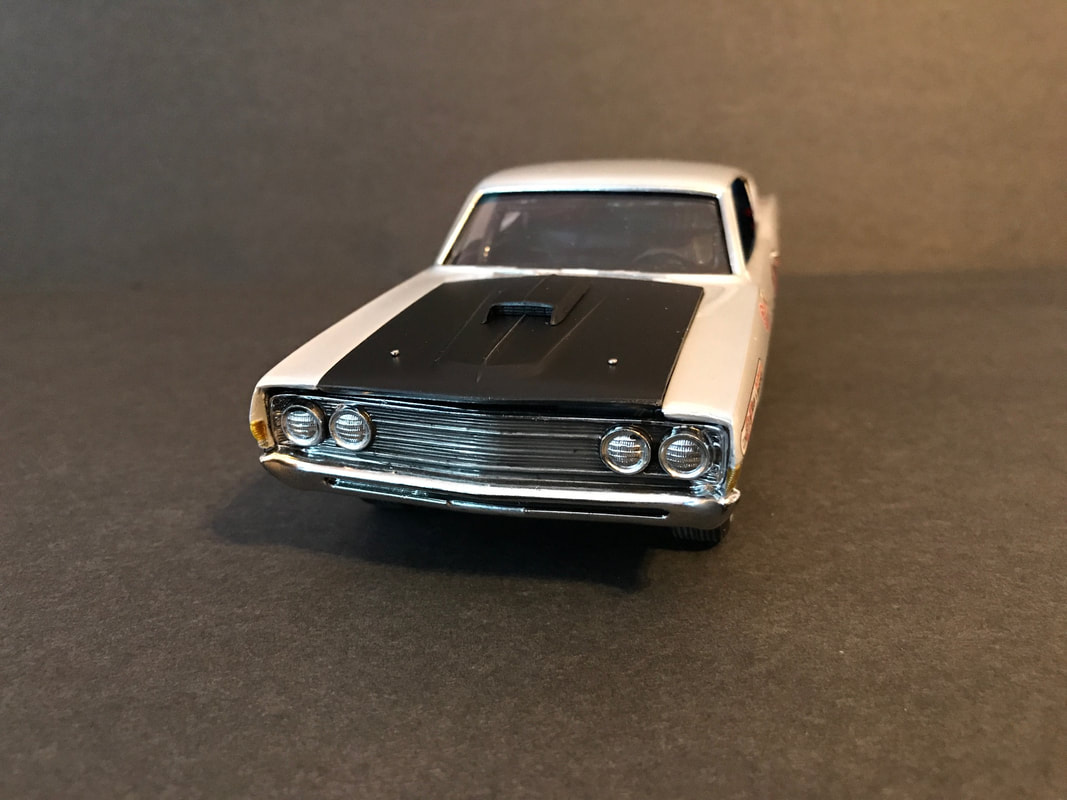
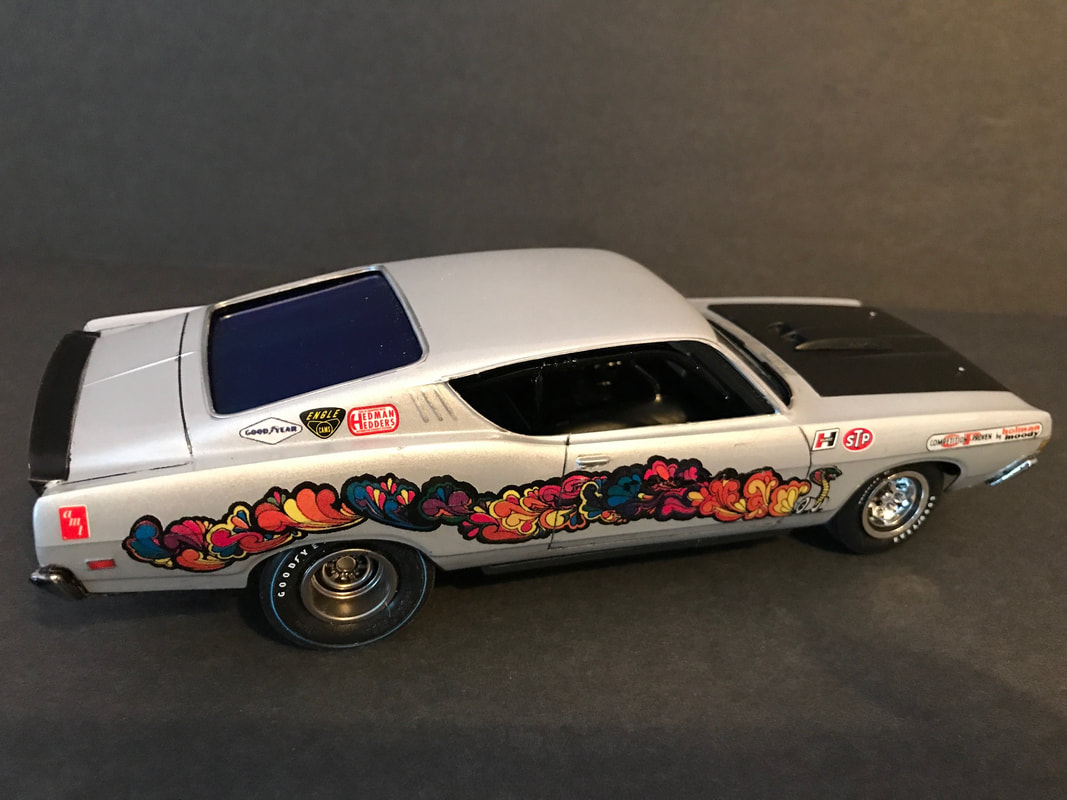
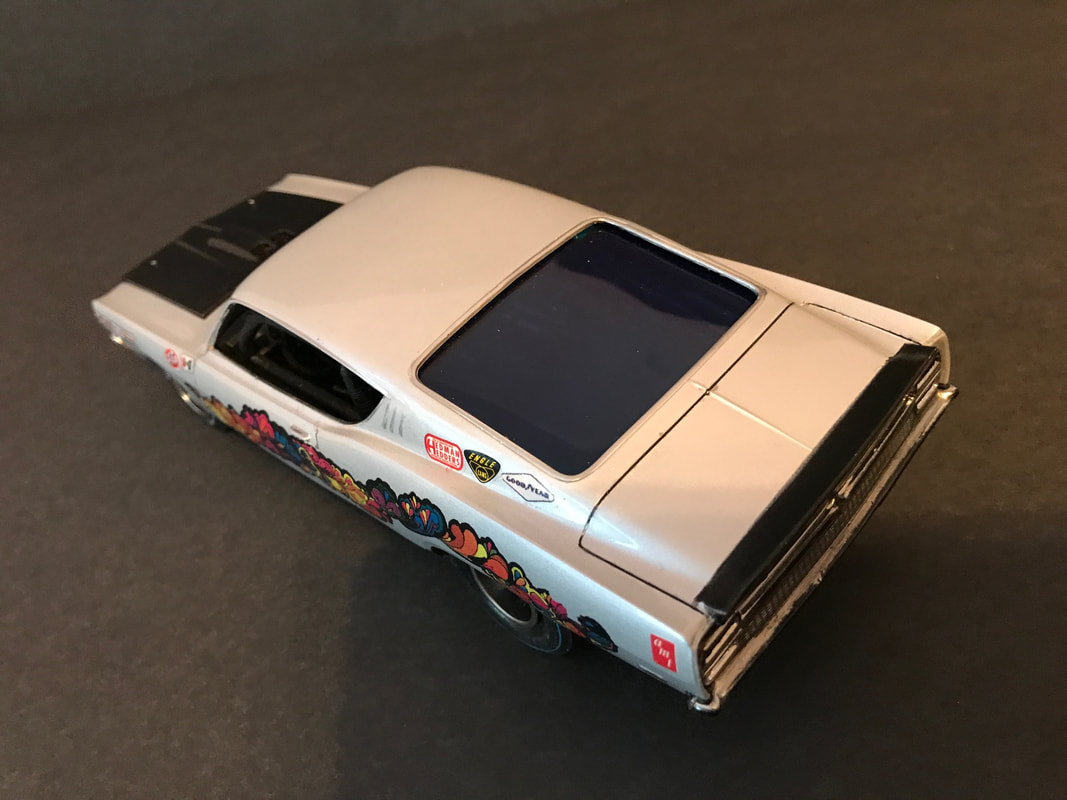
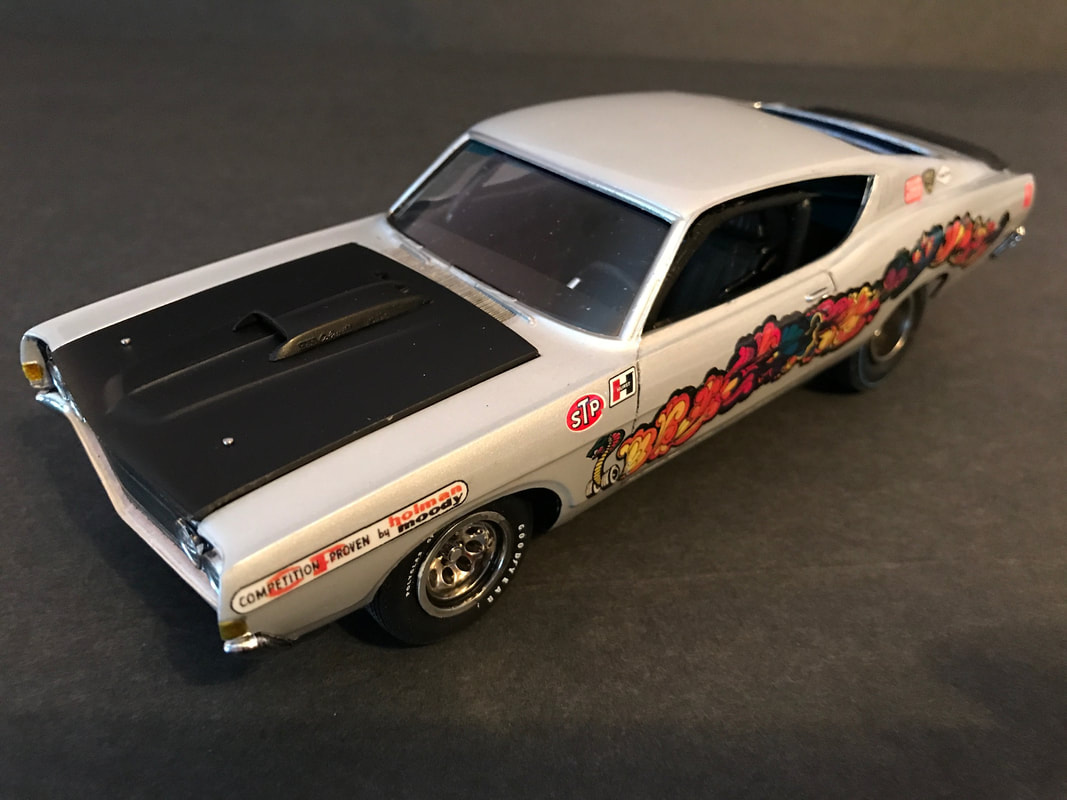
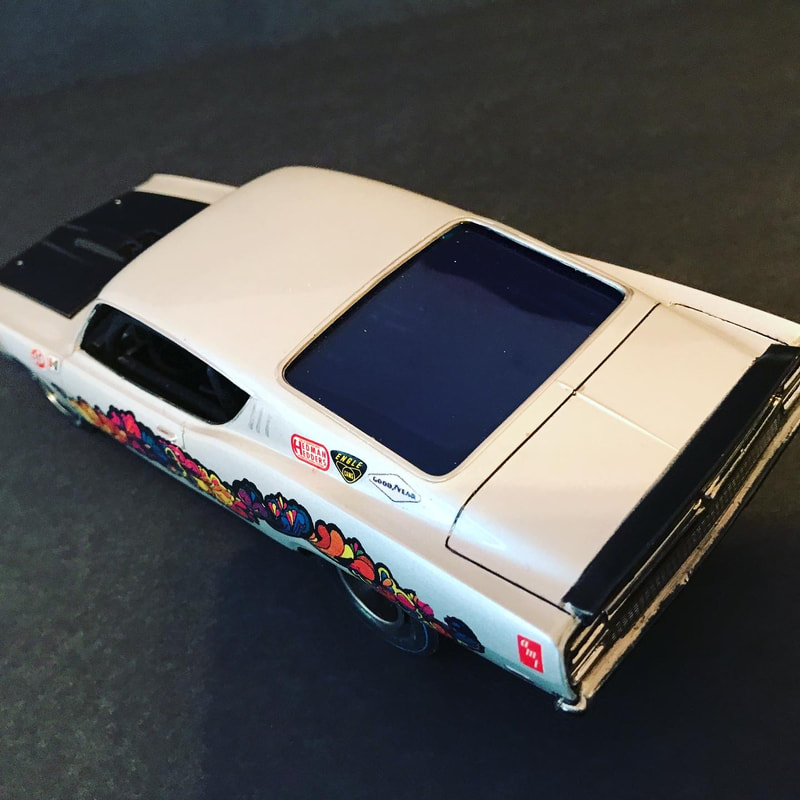
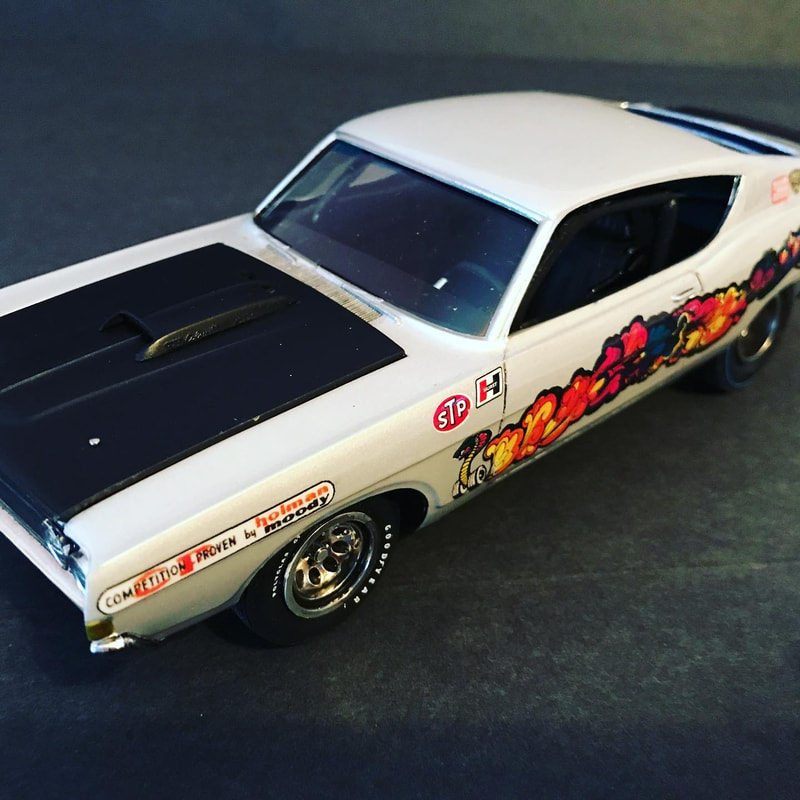
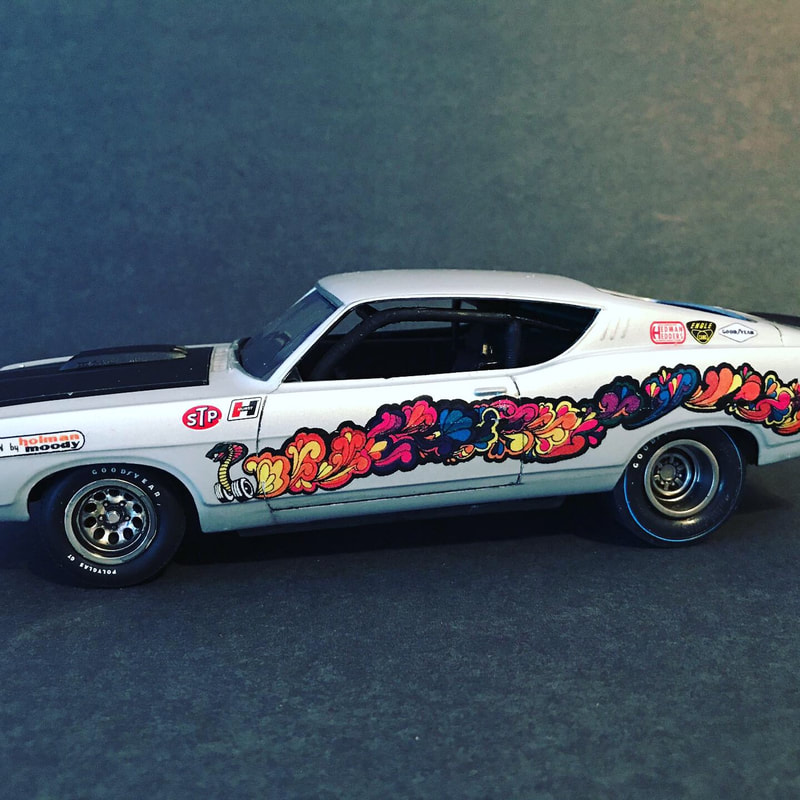
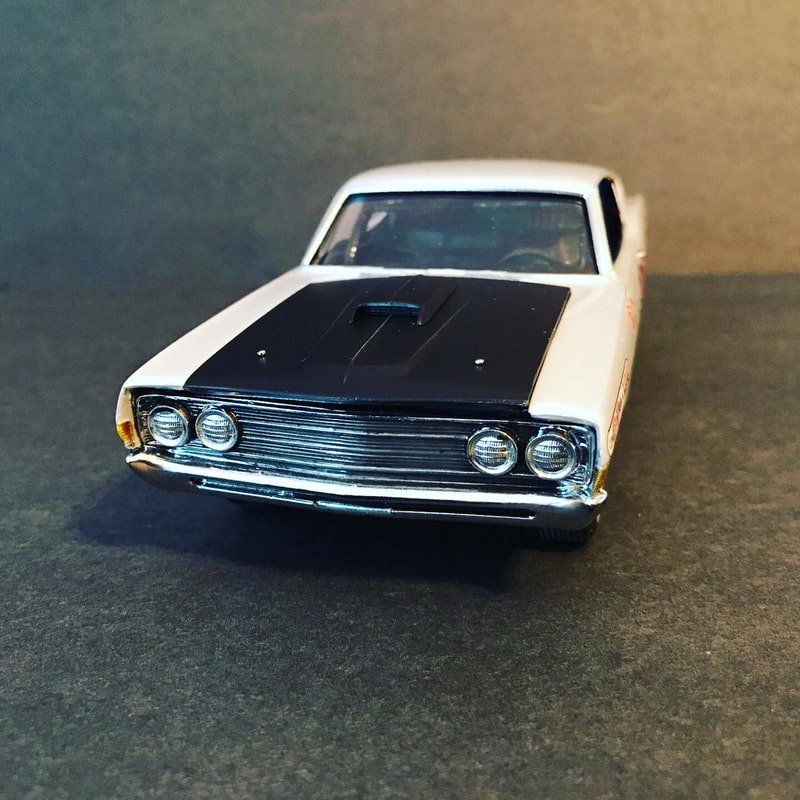
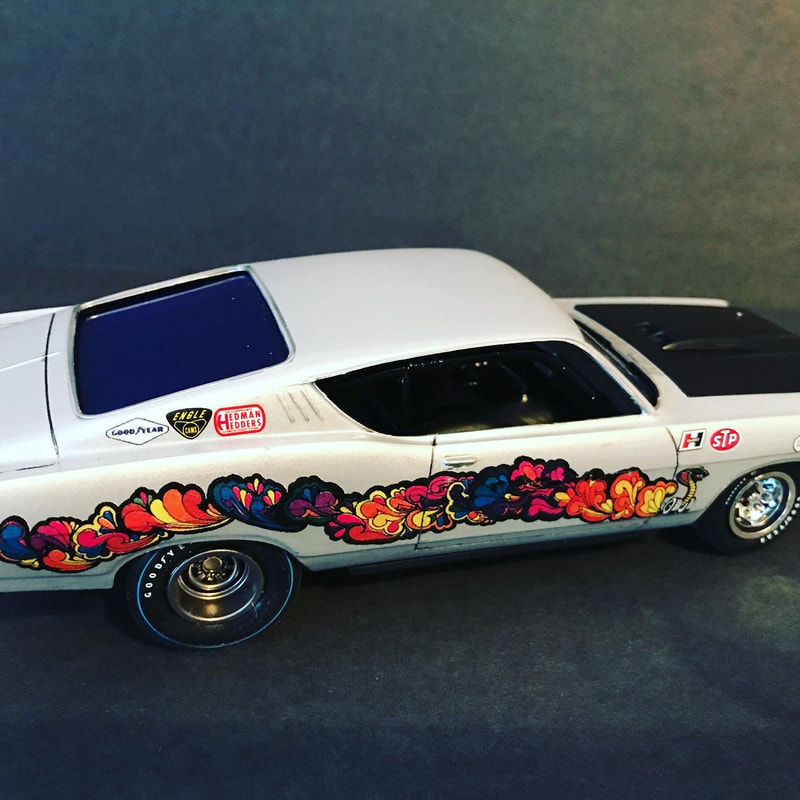
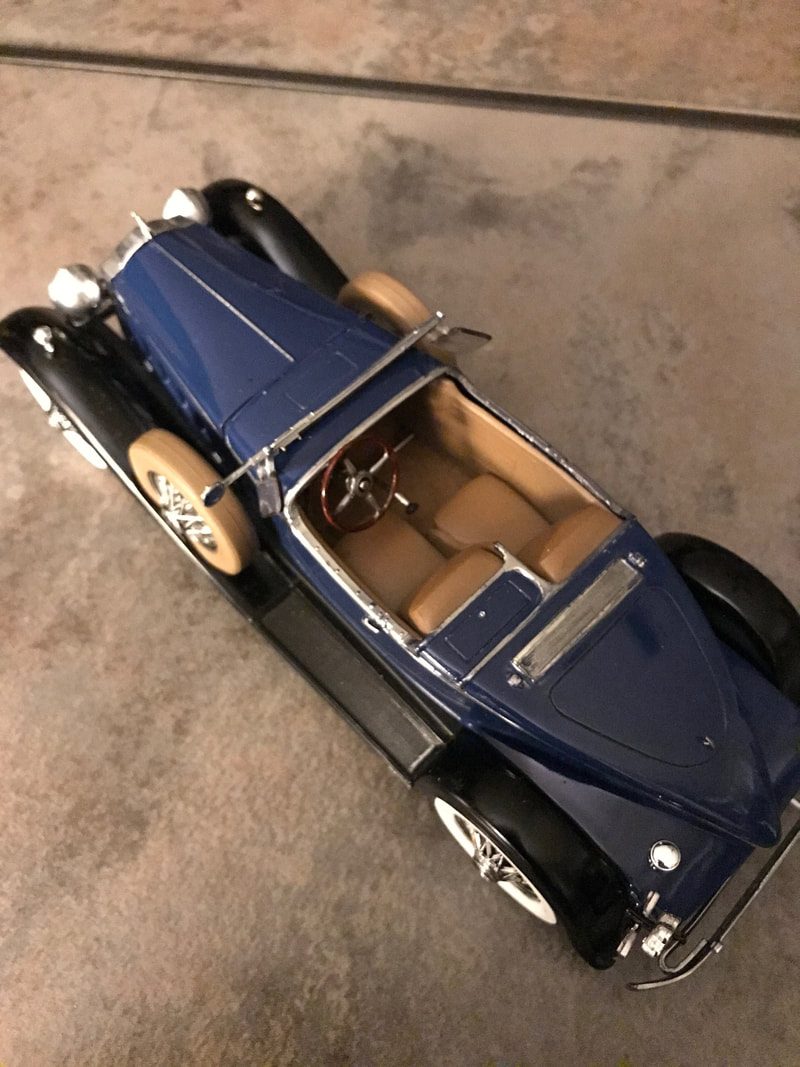
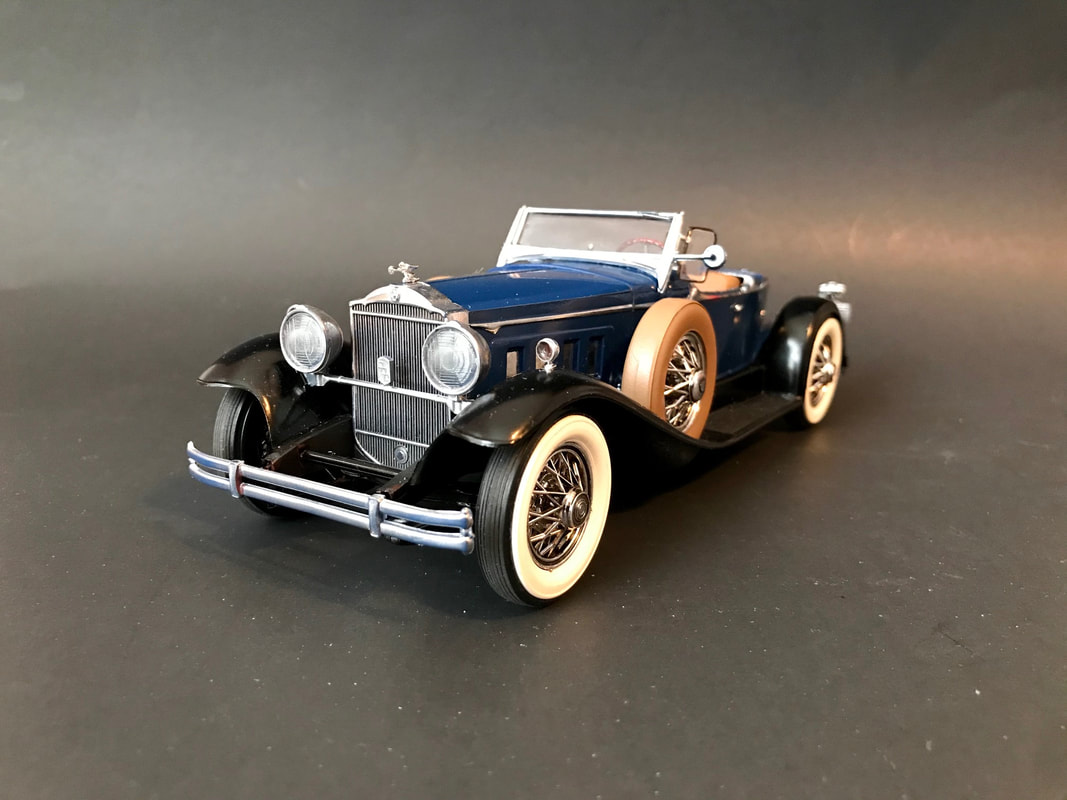
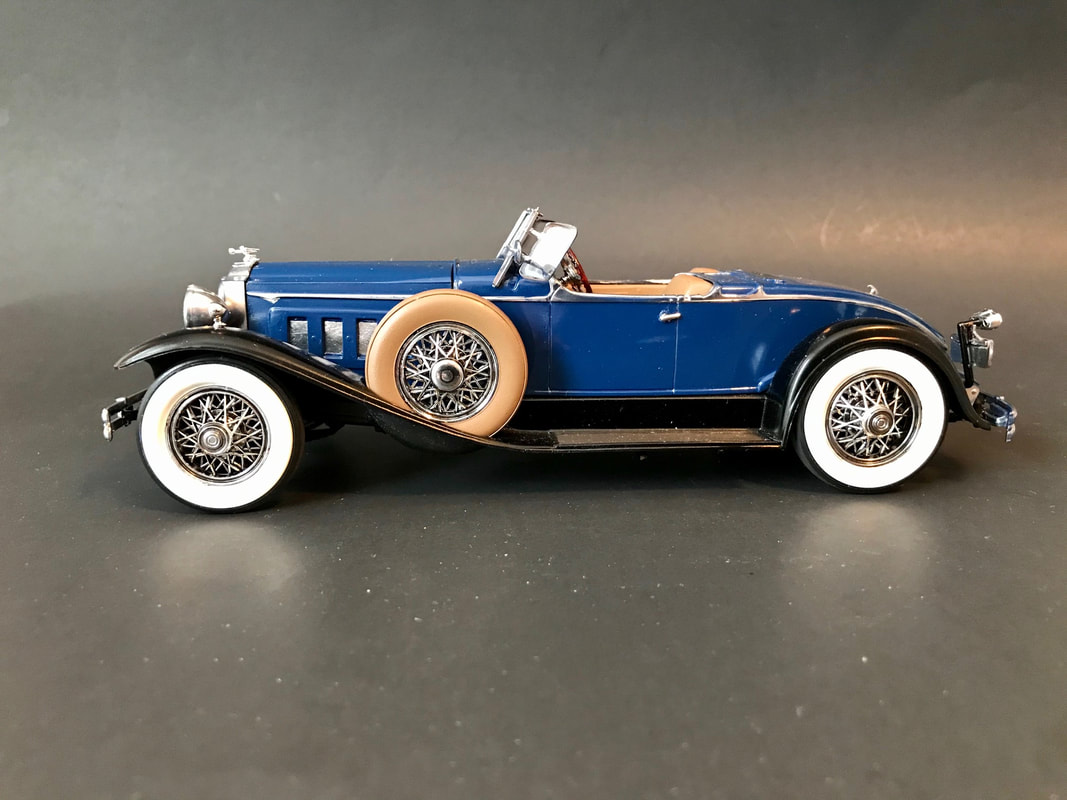
Originally issued in 1968 as the '69 Fairlane Torino GT, this is the definition of "vintage kit". The entire chassis is molded as one piece; vague connecting points throughout; solid metal axle for the rear wheels - the list goes on. This build was completed from the most recent Round2 2020 issue. Over the years, as far as I know, the kit has changed very little. Paint is Testor's White Lightning Lacquer over Tamiya Fine Primer (Gray) and resulted in a rather accidental silver gray. The hood and rear spoiler are Tamiya Semigloss Black. I used various Tamiya Blacks and dark grays on the interior. I liked it and ran with it. The decals are mostly from Billy Gooche Decals, and represent markings that were available in the (scarce!) AMT 1971 Torino Cobra. The only other additions are AMT Parts Pack Goodyear Blue Streaks on the rear, and a fire extinguisher from parts unknown. This kit was originally issued in 1974 or 1975, with a reissue in 1979. I built this kit from the 1979 boxing. This is part of Monogram's "Museum Pieces", which featured cars from "Harrah's Automobile Collection". The actual 1930 734 Speedster Boattail Runabout (what a name!) from Harrah's collection is (was?) a study in browns and beiges. These cars featured a 384 cu. in. eight cylinder inline (flathead) engine and a four speed manual transmission. I decided to have a go at building this because of the passenger seat being set back as compared to the driver's. Presumably, this was to enable the driver to focus on driving this sporty beauty. For this kit, I used Testor's enamel for the brown interior and covers on the fender-mounted tires, highlights and shadows were added using various black, tan, and brown washes and thinned paints. The body and frame were painted using Tamiya Lacquer (TS15) Blue and (TS14); with the bits of the frame being picked out various colors. I removed the chrome from the radiator and headlights, and I used Alclad II for these parts, as well as for the chrome beltline. (In reality, I'm not sure this should be represented as a separate piece - and it's molded to the body in the kit.) At any rate, I liked it. Side note - I cheated on the hood side vents. The kit includes eight small, chrome-plated, rectangles for these pieces. I lost one, and then another. In frustration, I cut a piece of card stock, applied Bare Metal Foil, and glued this to the inside of the hood. Somewhat non-prototypical, but I felt it turned out ok. It's an interesting kit. Unlike many more modern kits, the frame is made of individual pieces. Getting these square is critical to getting all four wheels to sit evenly. However, it is nicely detailed for a kit of this vintage. Anyway, on to the subpar photos....
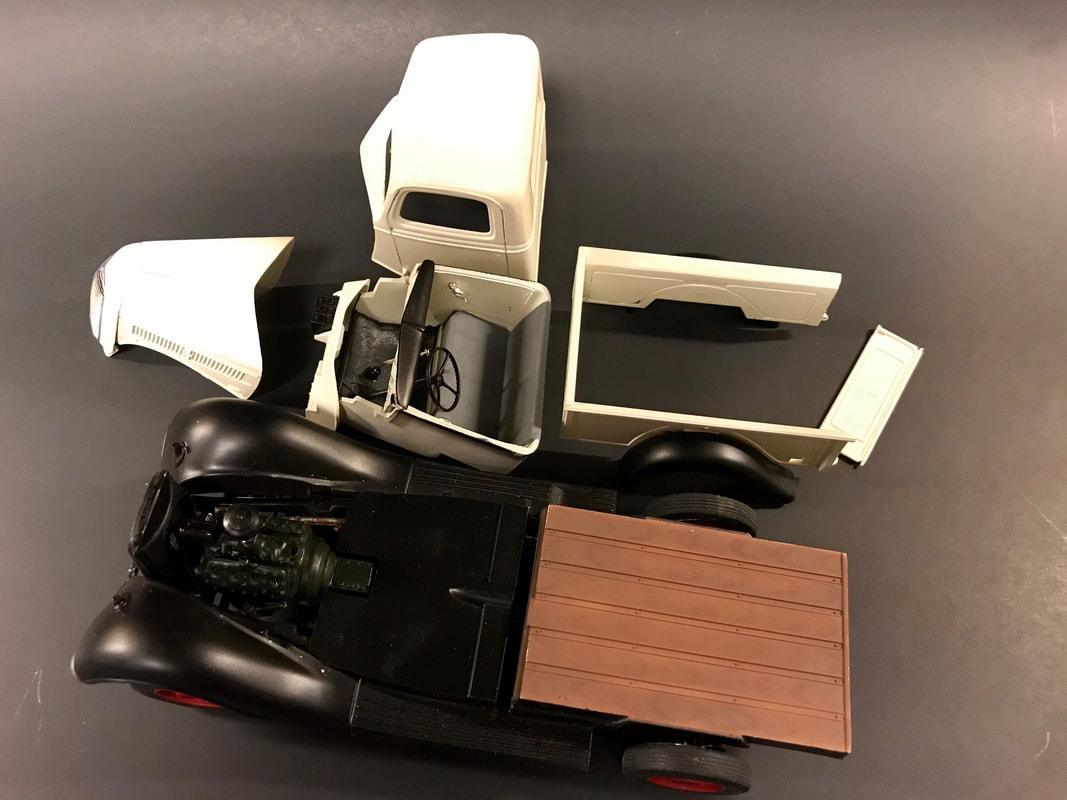
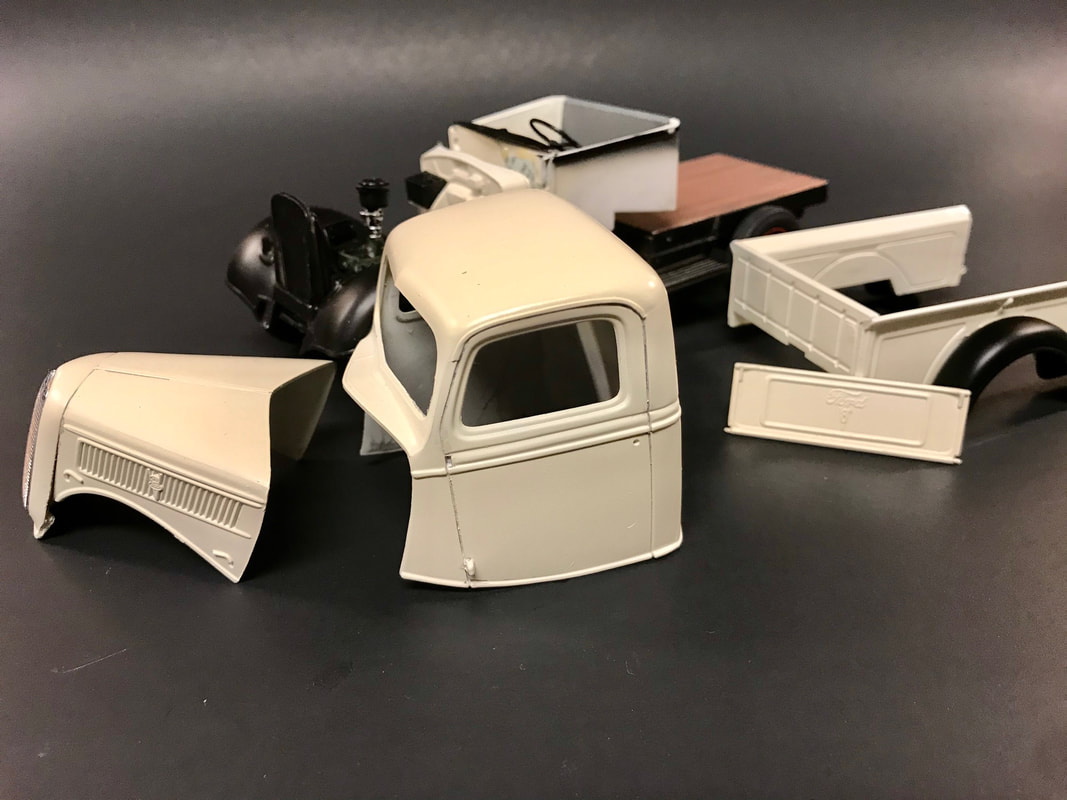
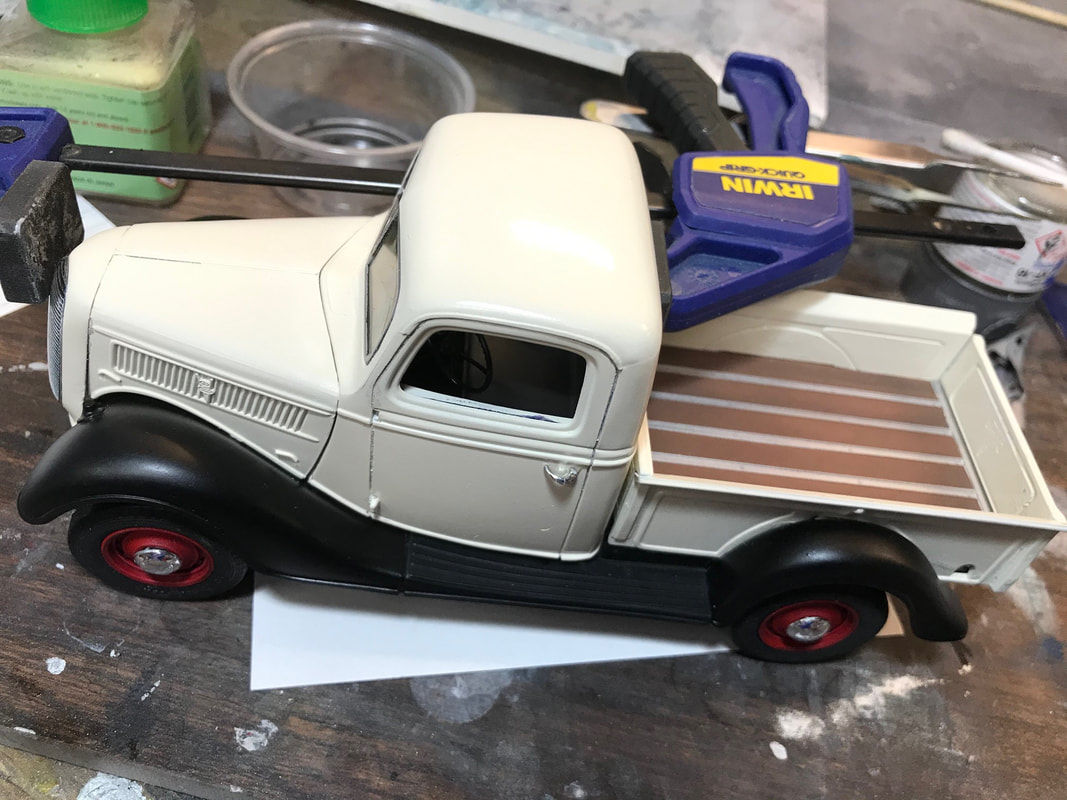
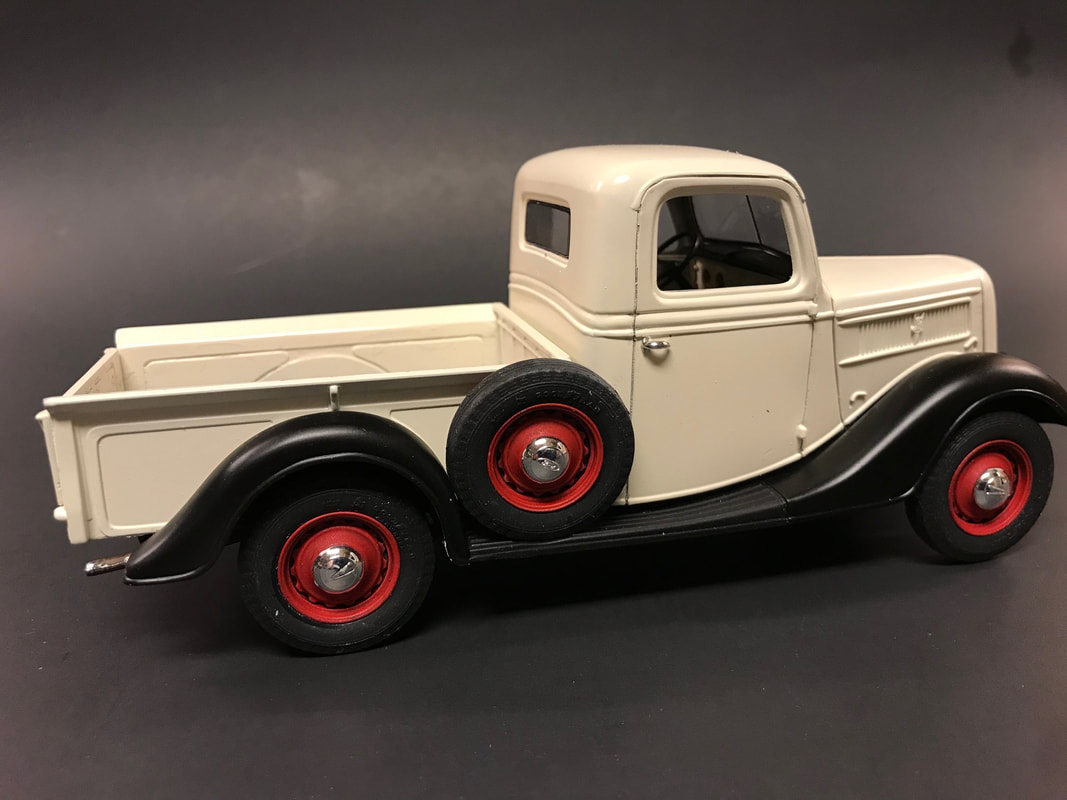
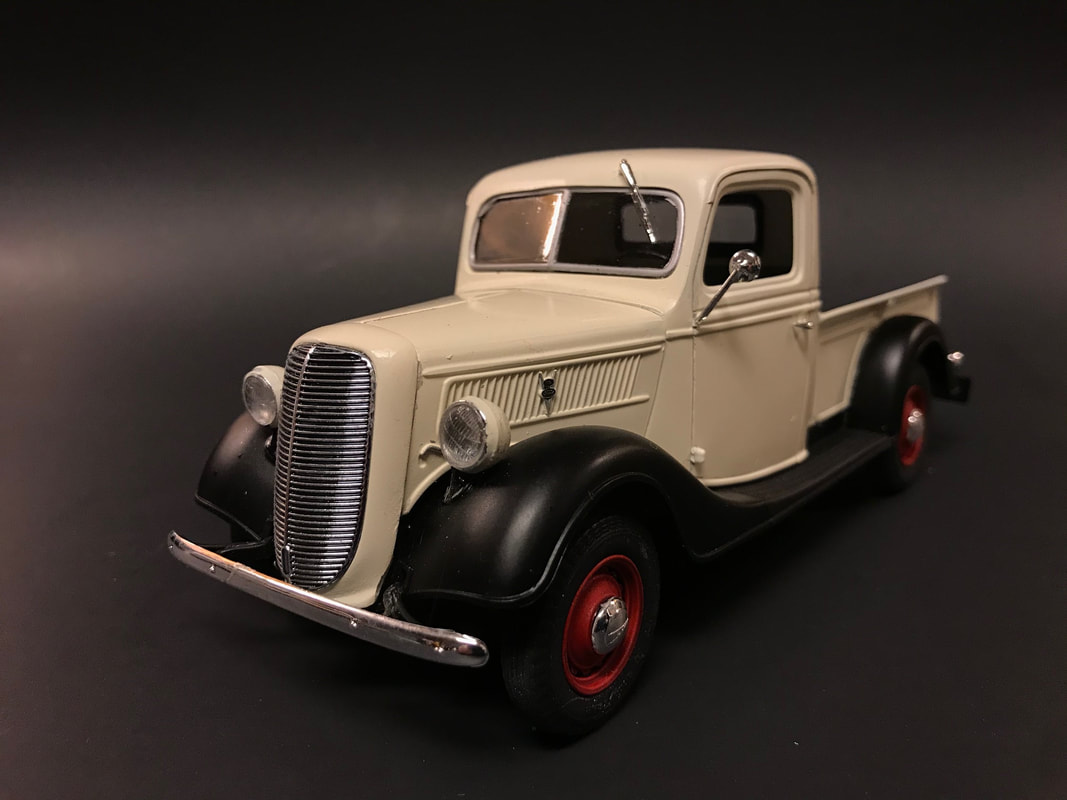
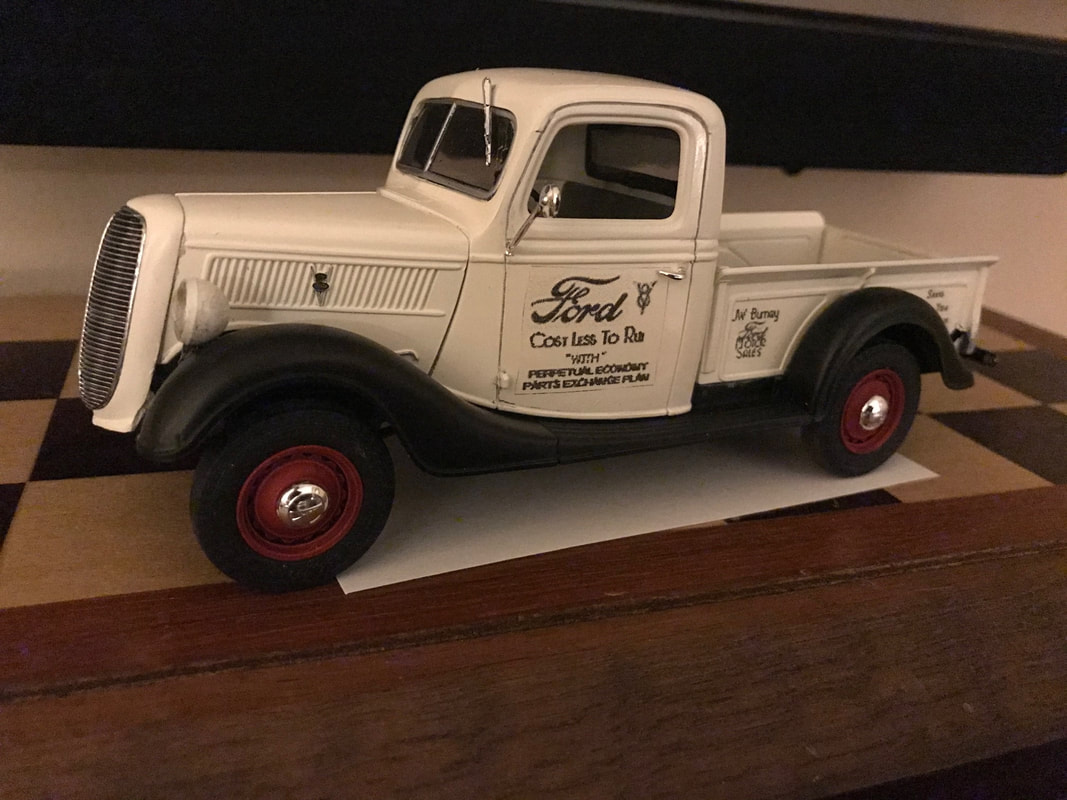
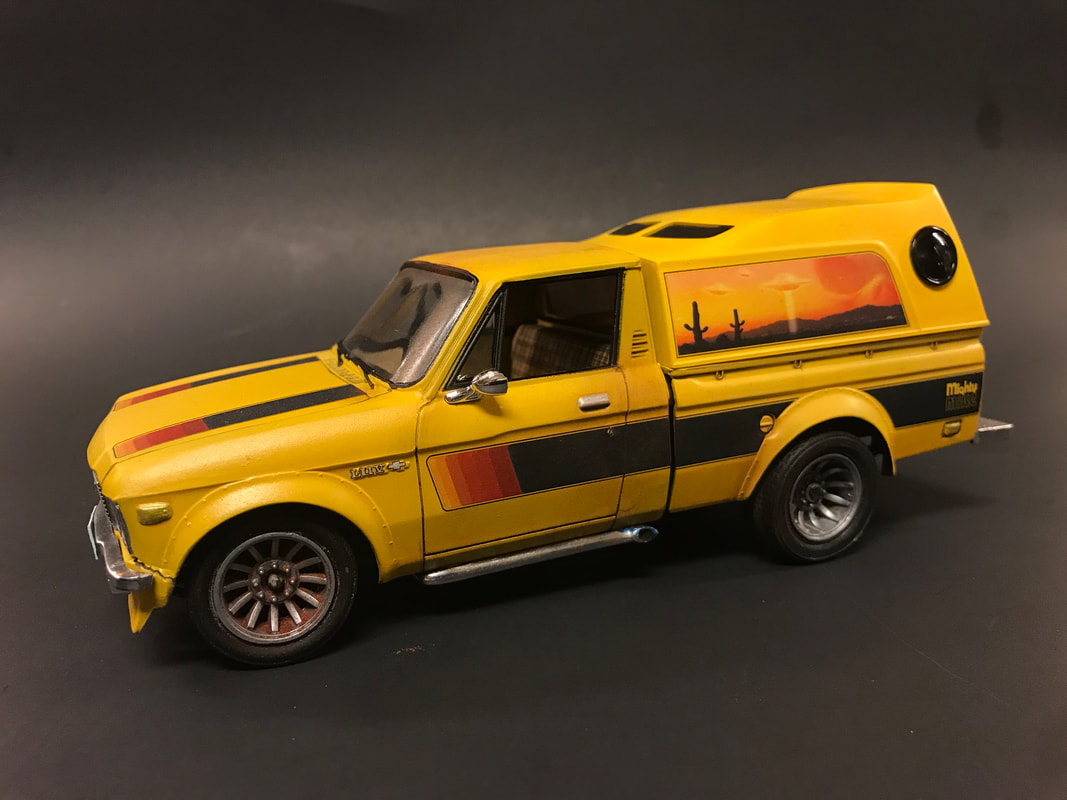
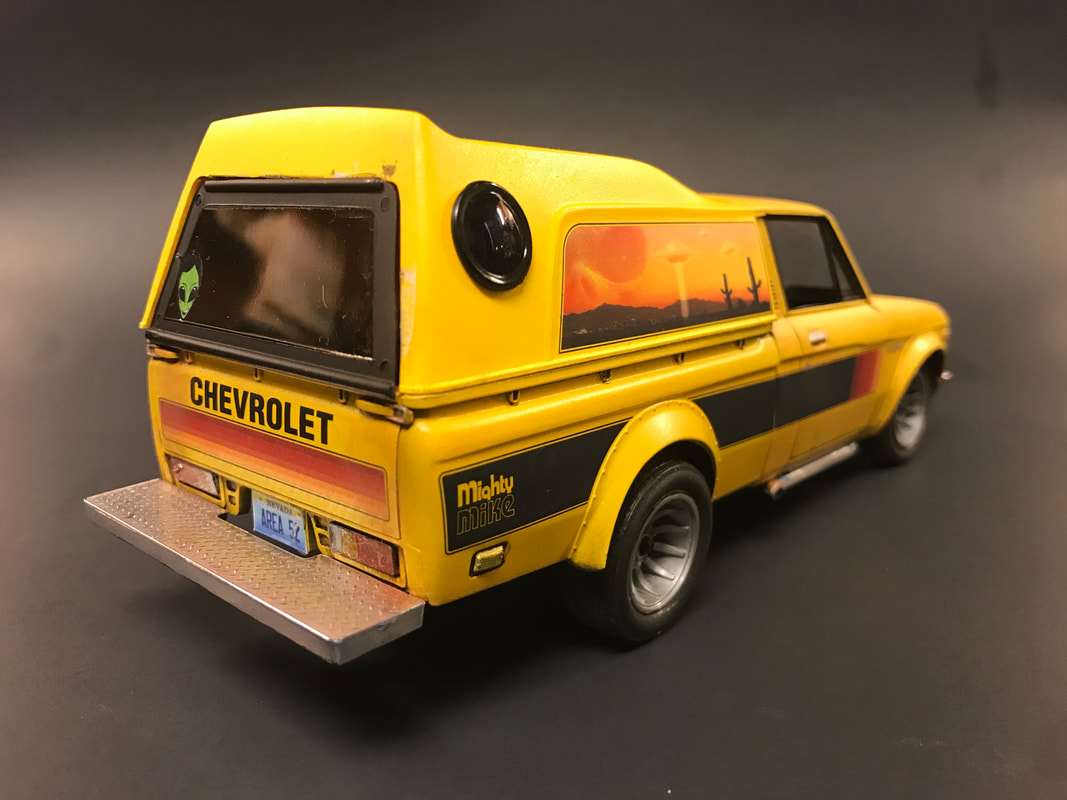
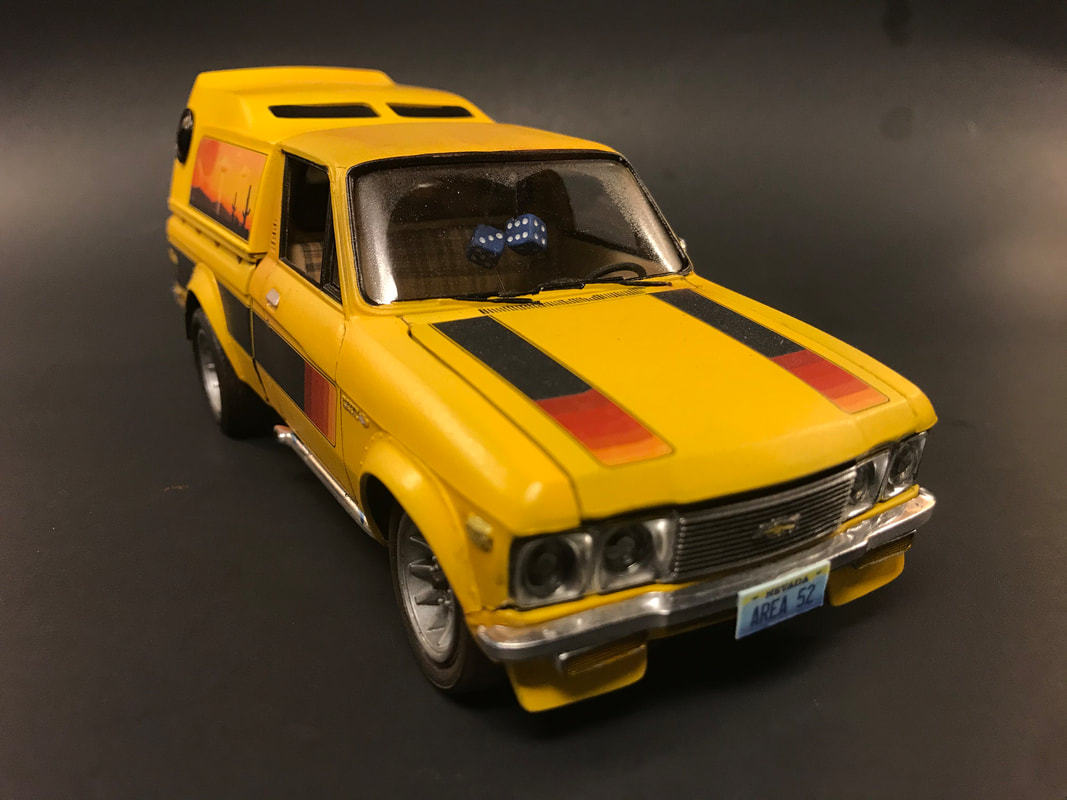
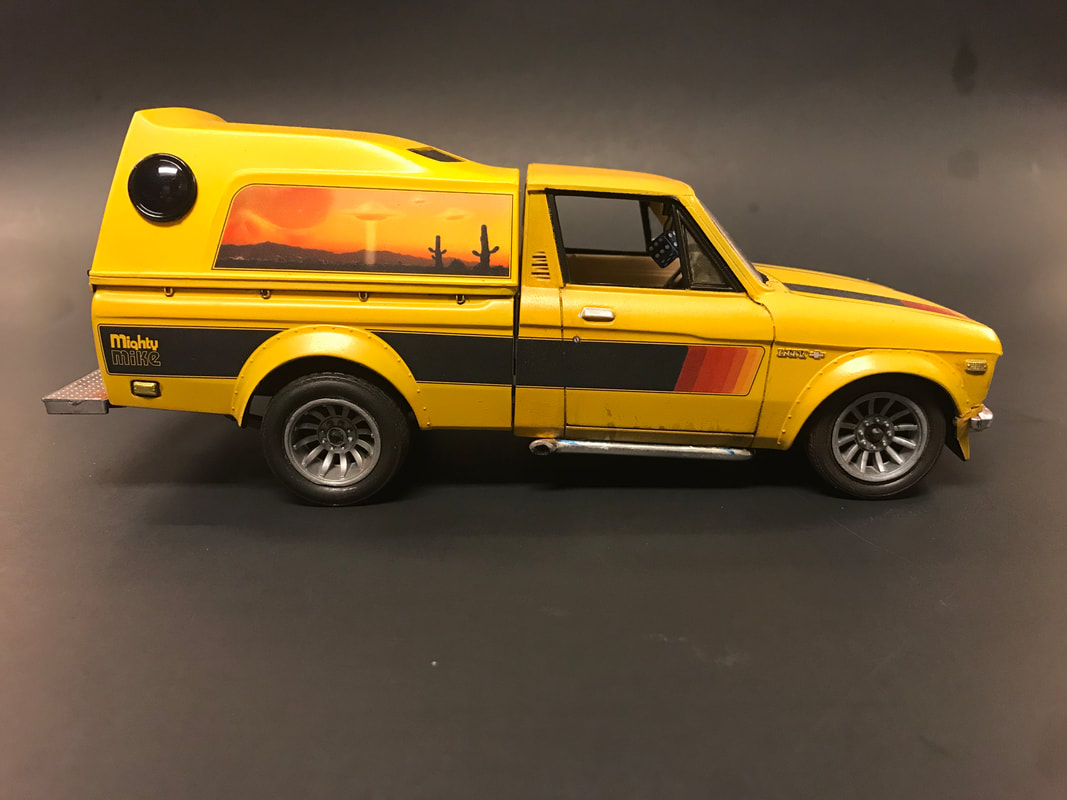
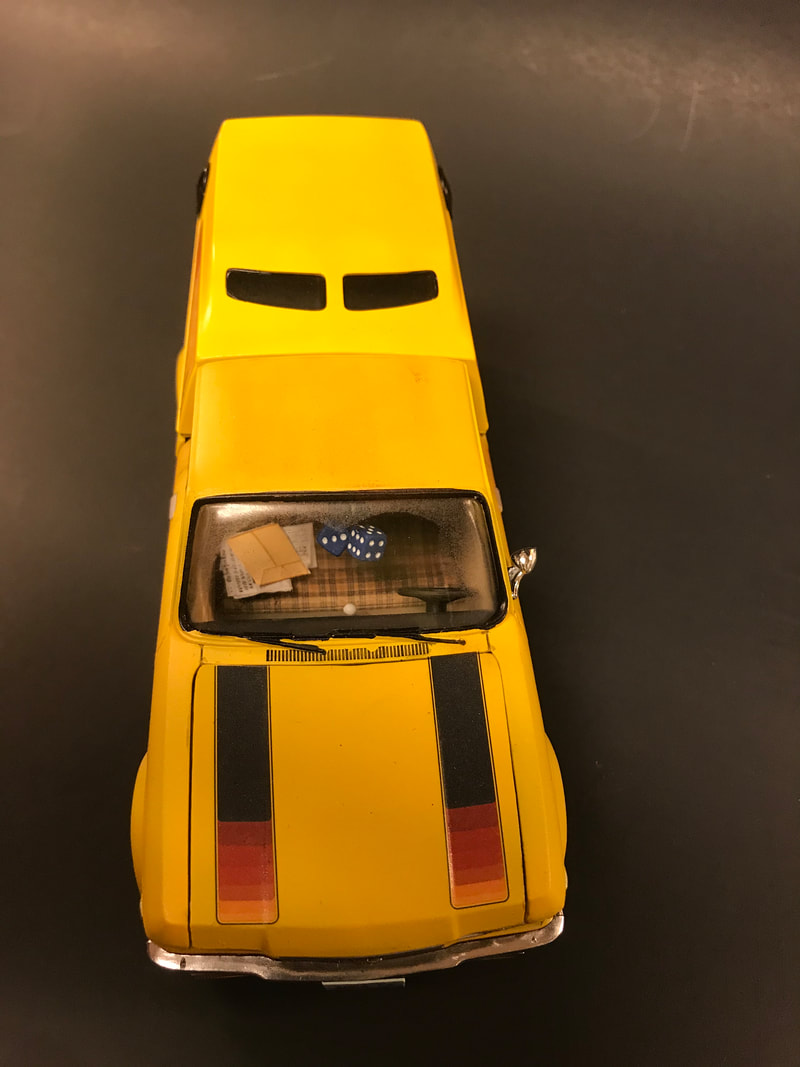
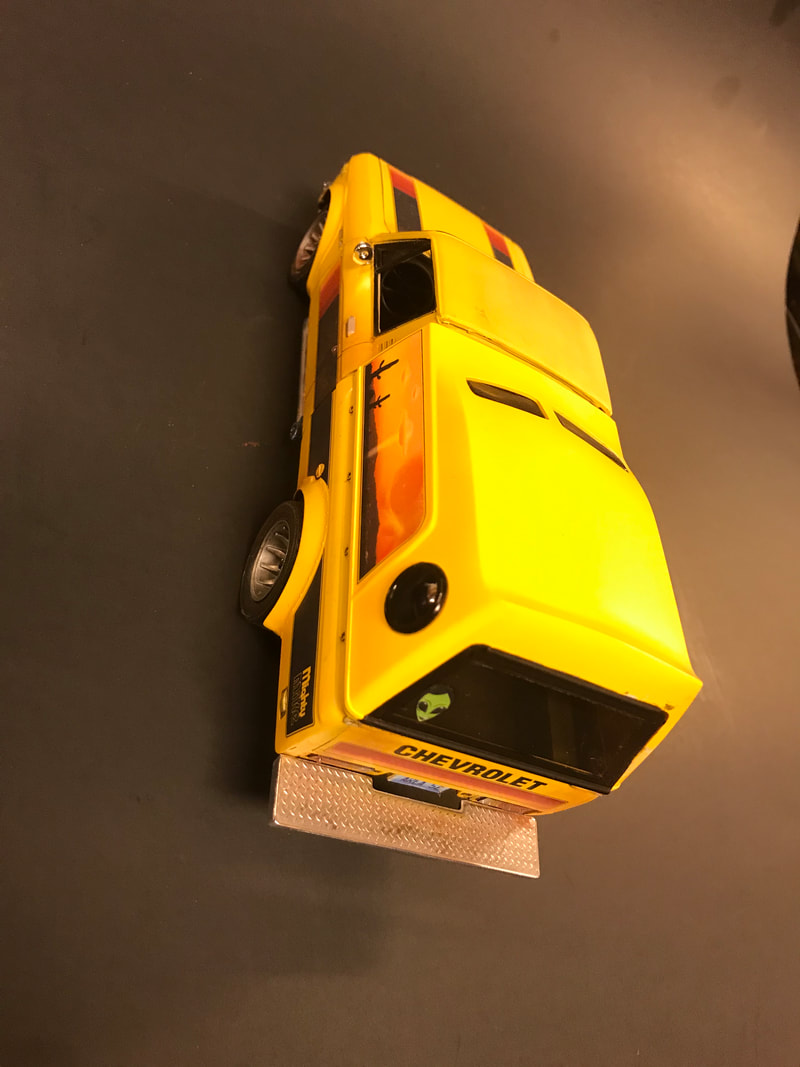
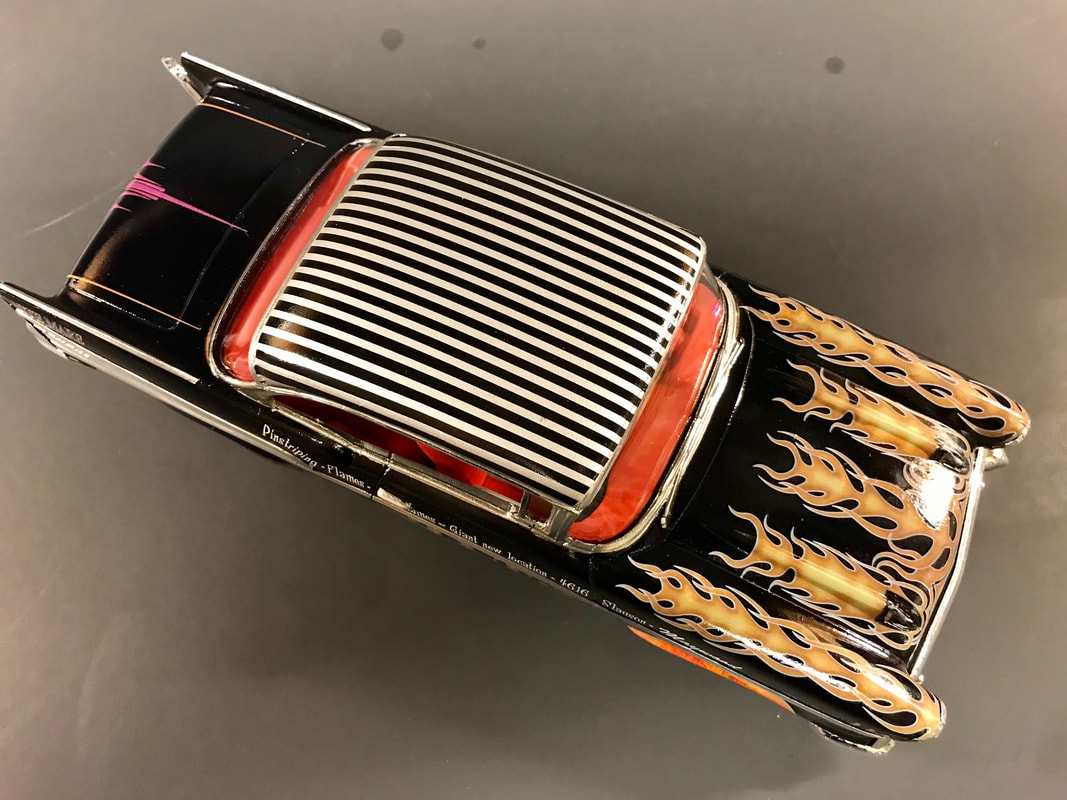
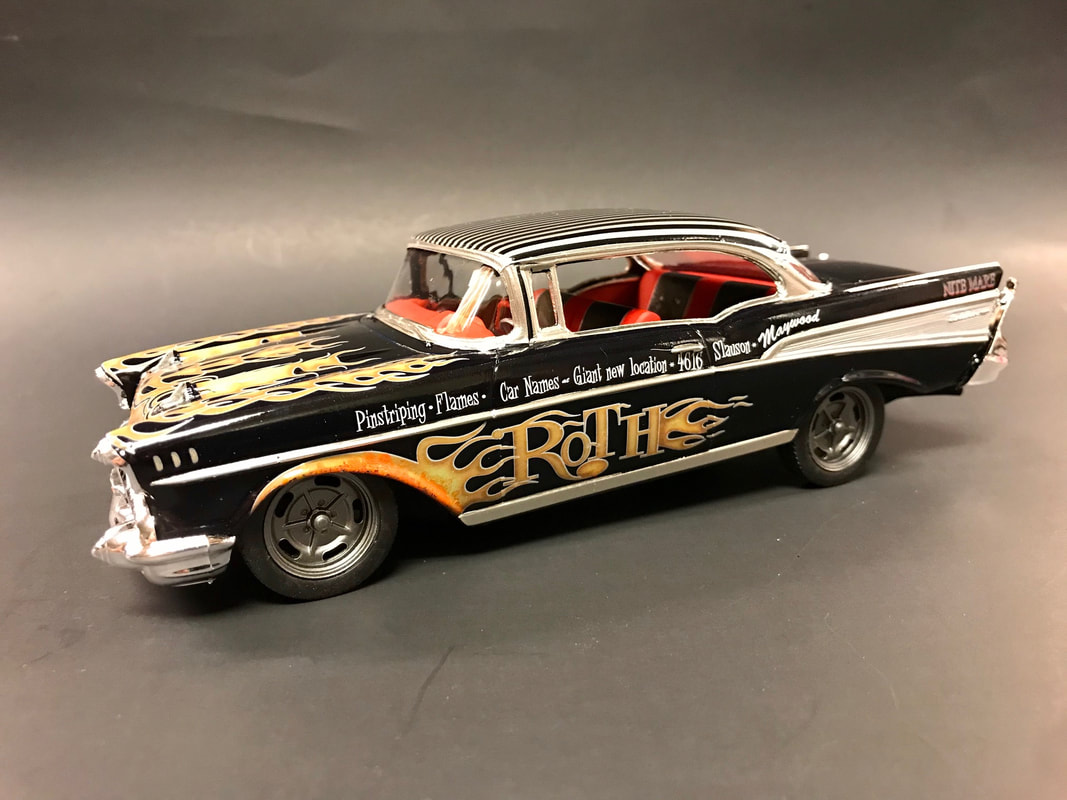
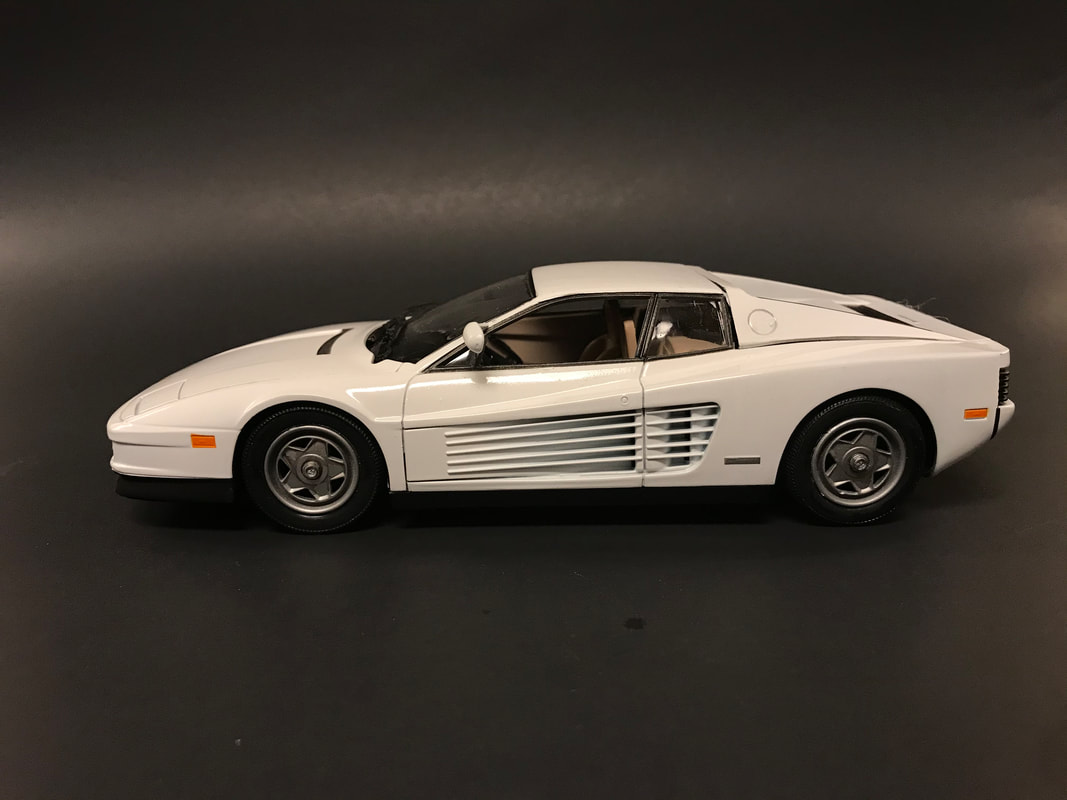
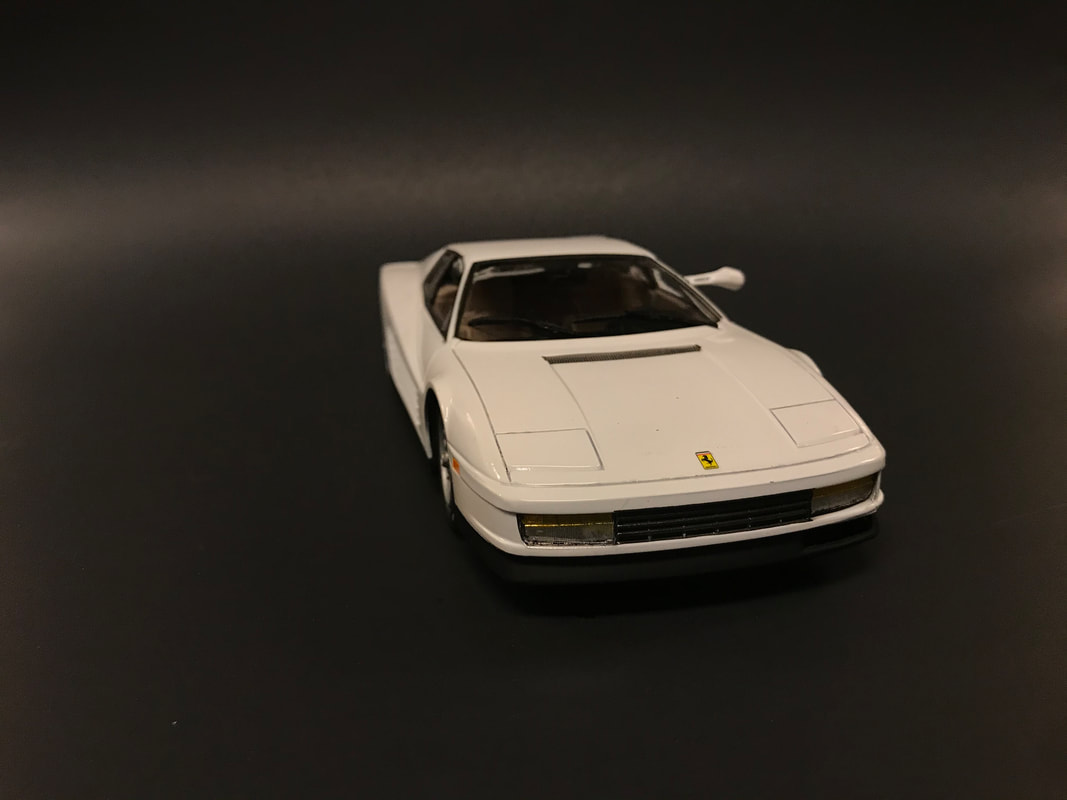
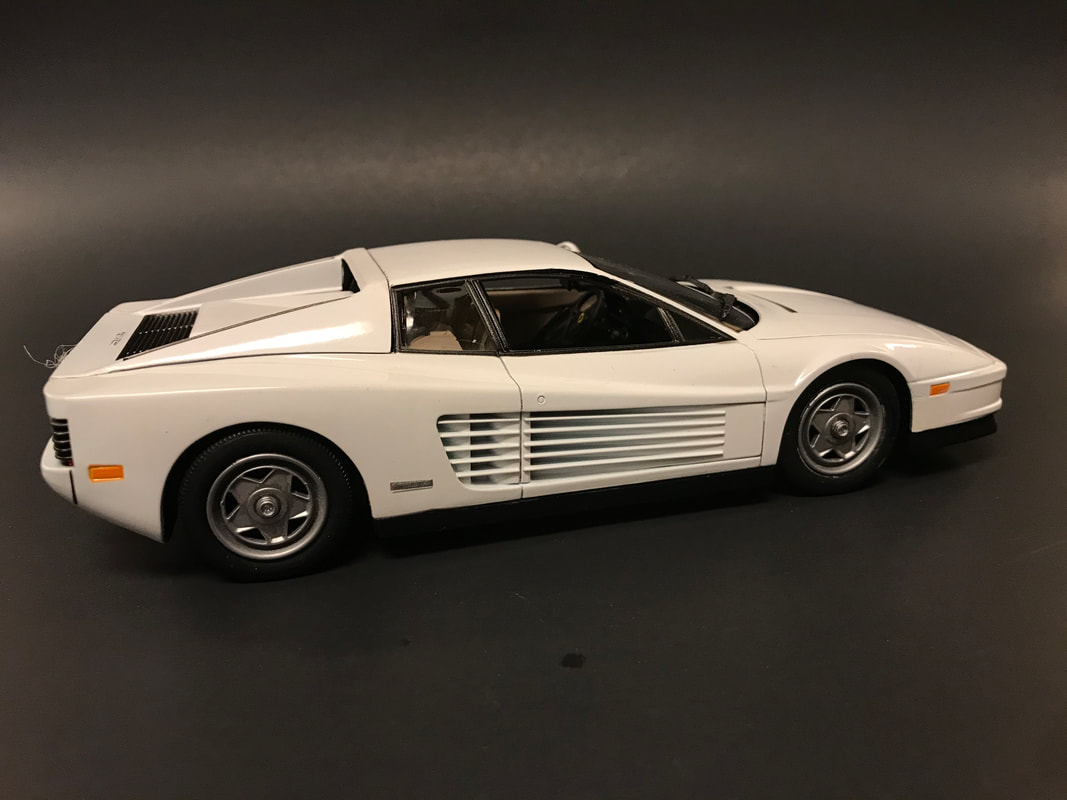
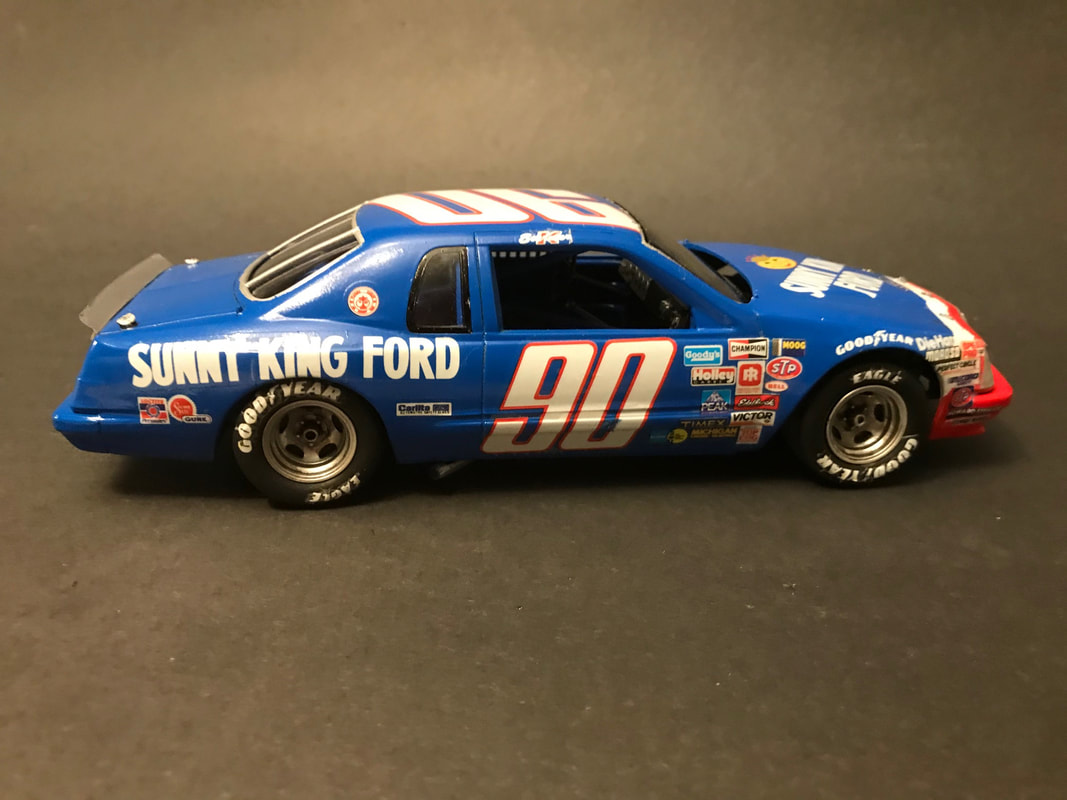
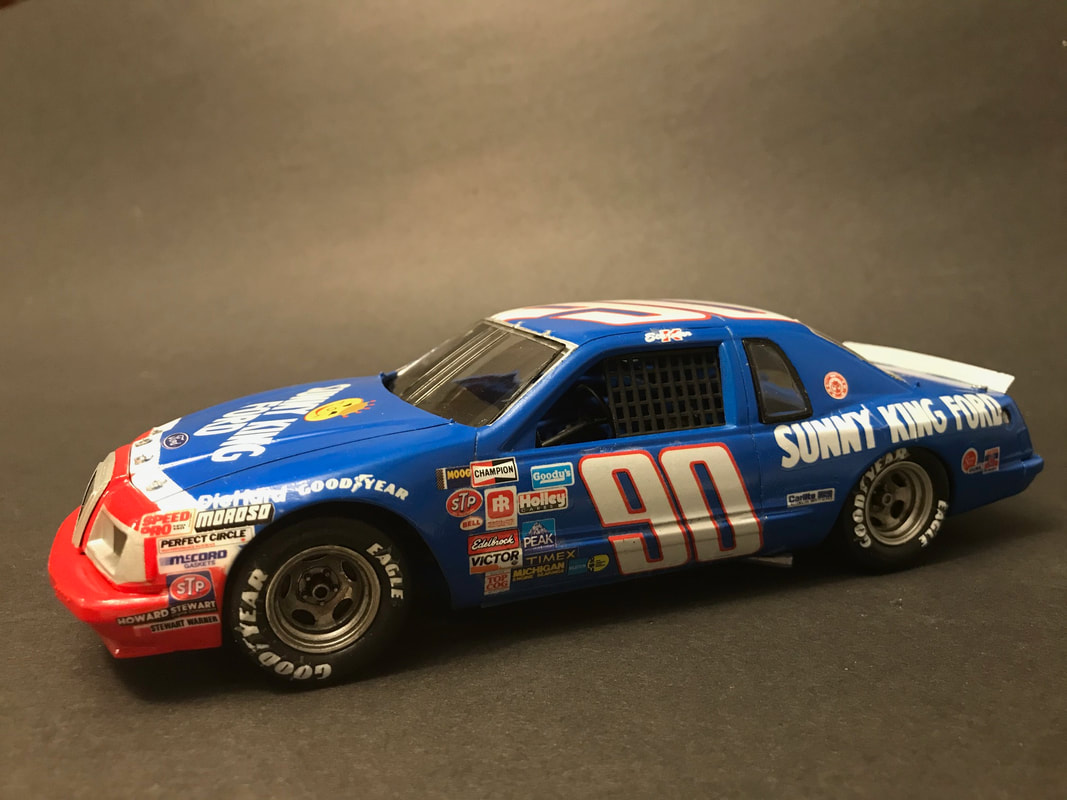
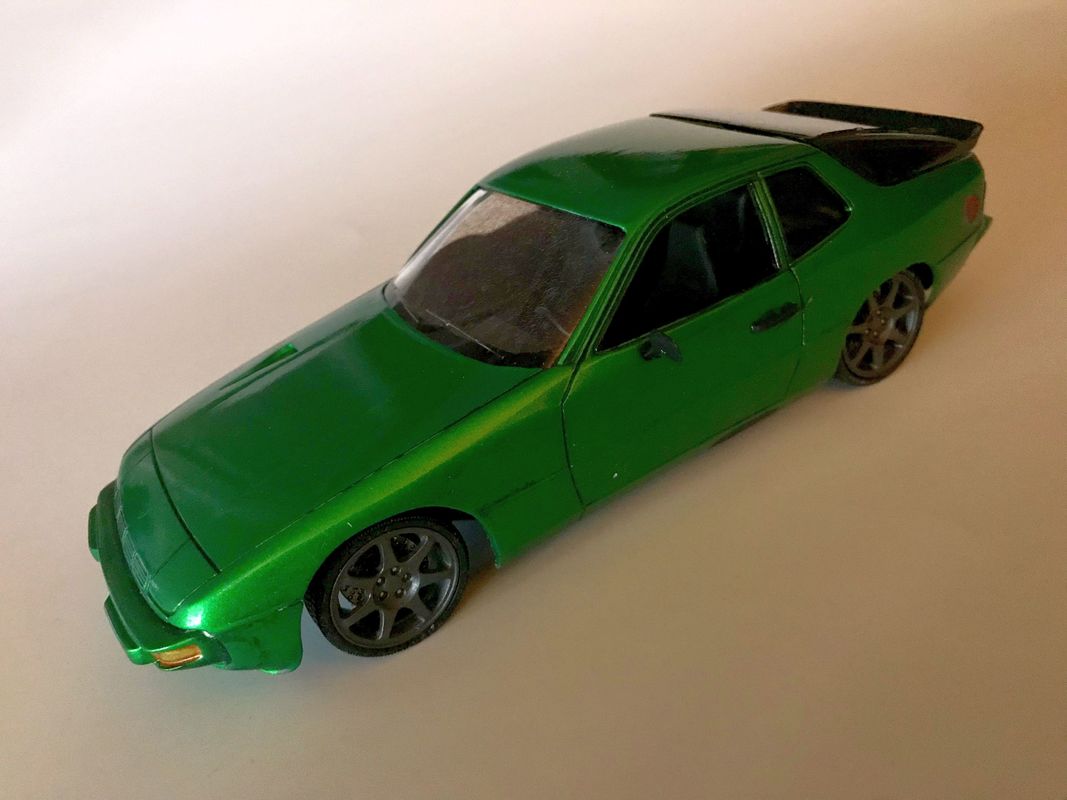
  I think I may rebuild this one. It's the Revell 1937 Ford pickup truck, released in the late 1990's. I had started it a while back, and it languished in a box above my workbench for years. I recently pulled it down and finished it. But, the more I look at it, the more I think I may strip and refinish it. The body is painted with Testor's spray lacquer; Wimbledon White and Gloss Black. My decals had yellowed badly, and I attempted to make new ones inspired by the kit decals. I may give it another go at some point. Seeking to sell a small pickup truck in the early 70's, General Motors partnered with Isuzu to bring the Chevy LUV to American shores. I've read that these were imported without the bed attached to circumvent tariff rules at the time, but I don't know how accurate that statement is. This is the recently re-issued 1972 Chevy LUV from Monogram. The kit features some very 70's "sunset stripes" and has an optional funky UFO decal theme. Like many kits of the era, there are some rather questionable features. For example, the giant rear bumper/shelf, the 8-lug wheels, and the small block Chevy V8, exaggerated fender flares and sidepipes. But, it was the 70's, so why not? The kit is kind of simplified and there are some vague mount points, but nothing insurmountable. I built it straight from the box, save for fashioning a rear view mirror and hanging some "fuzzy dice". I created plaid decals for the seats and printed some newspapers for clutter. The kit was finished with Tamiya acrylics and misted with both Testor's glosscote and dullcote. I added weathering with cheap pastels and Tamiya washes. My particular kit seems to have a slight twiste/warp to the chassis that I was unable to rectify. But it's not so noticeable on the shelf. This was a pretty quick build. I had purchased the old Revell 1957 Bel Air solely for the cool Ed Roth decals. However, when I started, I didn't want to deal with the opening doors, trunk, odd windows, etc. So, I shelved the original kit, and pulled down a copy of the recent Revell "Wheels of Fire' snap kit. The decals fit almost perfectly. I did have to touch up around the flames on the front wheel arch, but that was it. Paint is Tamiya. I see I needed to fix the rear chrome trim before taking the pics. Oops. First released in 1987, the Monogram Ferrari Testarossa has been reissued several times. The Miami Vice releases are molded in white plastic, but the kit has also been issued in red and in yellow plastic. Obviously, if you're building Detective Sonny Crockett's car from the TV show, the white car is the one to get. All releases include the same parts - although the kit was also released as a convertible with the appropriate engine cover and body modifications. This particular kit is another kit gifted to me by my brother-in-law (thanks, David!). The kit was built straight from the box. I used Tamiya white primer, followed by Testor's One Coat Lacquer. All trim and interior work is Tamiya acrylic, thinned and airbrushed with my trusty ol' Badger 150 dual-action airbrush. I've been working on the 1996 Monogram Dale Earnhardt, Sr. AC Delco Monte Carlo as raced in Suzuka, Japan. The kit comes with the round-sided body, but the cars raced were slab-sided; at least as far as I can tell. The kit's decals are by Slixx and are fairly complete. I took a slab-sided kit from my stash and got to work. Tamiya paint used for the body. Hopefully, I can finish this up over the next few days. :) 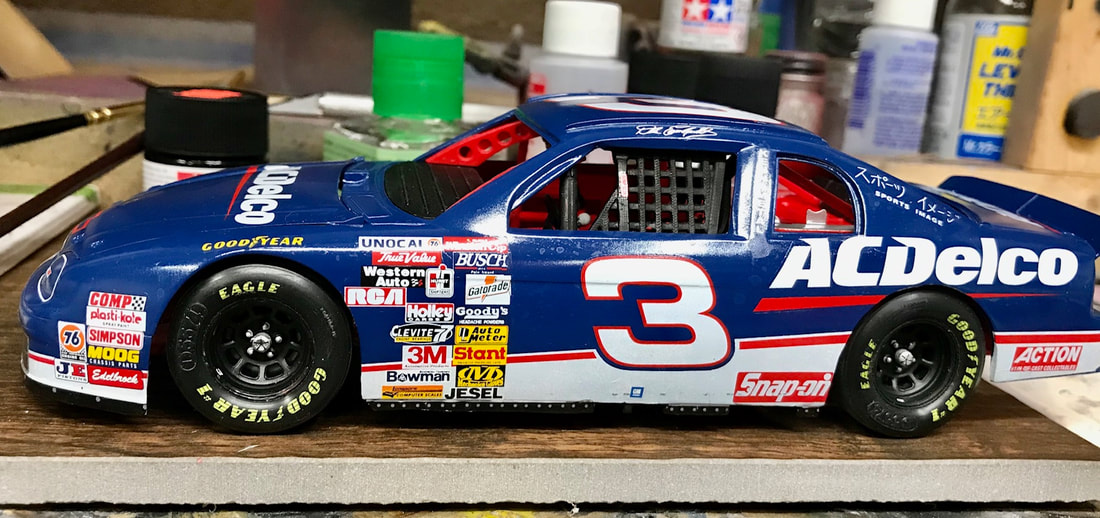 Trying my hand at building Kenny Schrader's Rookie ride from 1985.
Here I've mangled together one of the two Thunderbirds in the 1985 Monogram Rookie of the Year Combo set (6368). This is certainly not my best work; but I suppose it's not my most horrible, either. A few "gotchas", at least for me: The front wheels do not fall into the center of the wheel arch, the mount points for both the front and rear suspension parts are not well defined, and the firewall doesn't quite line up with the rest of the chassis. However, I've seen this old 'bird built very well by others, so I suspect the faults are all my own. Painted with Tamiya sprays. Chrome stripped and painted with Tamiya silver acrylic. I hope to build another, and apply what I learned here. My Brother-in-law gave me this kit for Christmas a couple of years ago. He found it in an antique store. The box and instruction sheet were rather tatty, but the plastic was as good as new! I build it almost straight from the box - with the exception of opening the hood scoop. The wheels and tires are from the Revell Acura Integra kit, with brakes from the spares box. I was going for a resto-mod look. I painted all chrome black and I gave the wheels a dark gray finish. If the wheels and tires were a bit wider, it would look better. But, it looks pretty good in the display cabinet. :)This is the Revell GMC Syclone in 1/25. The original issues were molded in black, which made sense since nearly every Syclone was black. There were some very few exceptions, which you can read about here. The kit was reissued by Revell around 2010 or so, and that version was molded in white. I built this one using an original issue. There were no fit problems, other than self-inflicted ones. In retrospect, I should have worked to lower it some. I decided to go with a non-factory, non-special edition color scheme. I used Testor's spray lacquers. It's a fun build and I have a couple of more in the stash. Interestingly, the most recent release (2010) included decals to do most of the Marboro special edition. You'd need to source the correct wheels and create your own Marboro logo for the windshield. But, you get the stripes. Maybe I'll do something similar to that next time? |